Claims - Snap your Receipts
Snap Receipts
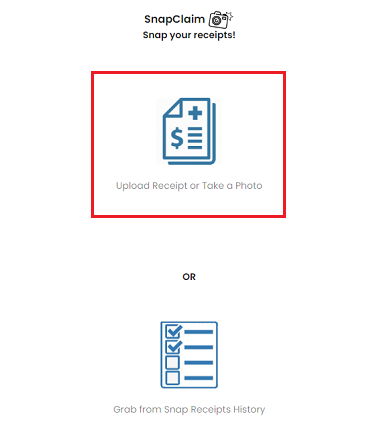
- Click [SnapClaim] icon button on the dashboard page (Pic 1) to begin
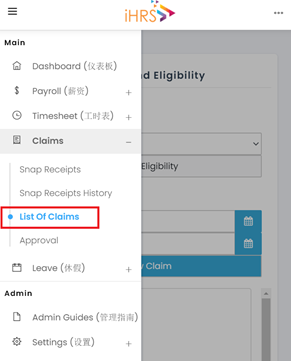
- Alternative you can click on [Snap Receipts] on the left menu (Pic 2) to access snap a receipt page
To Snap Receipt:

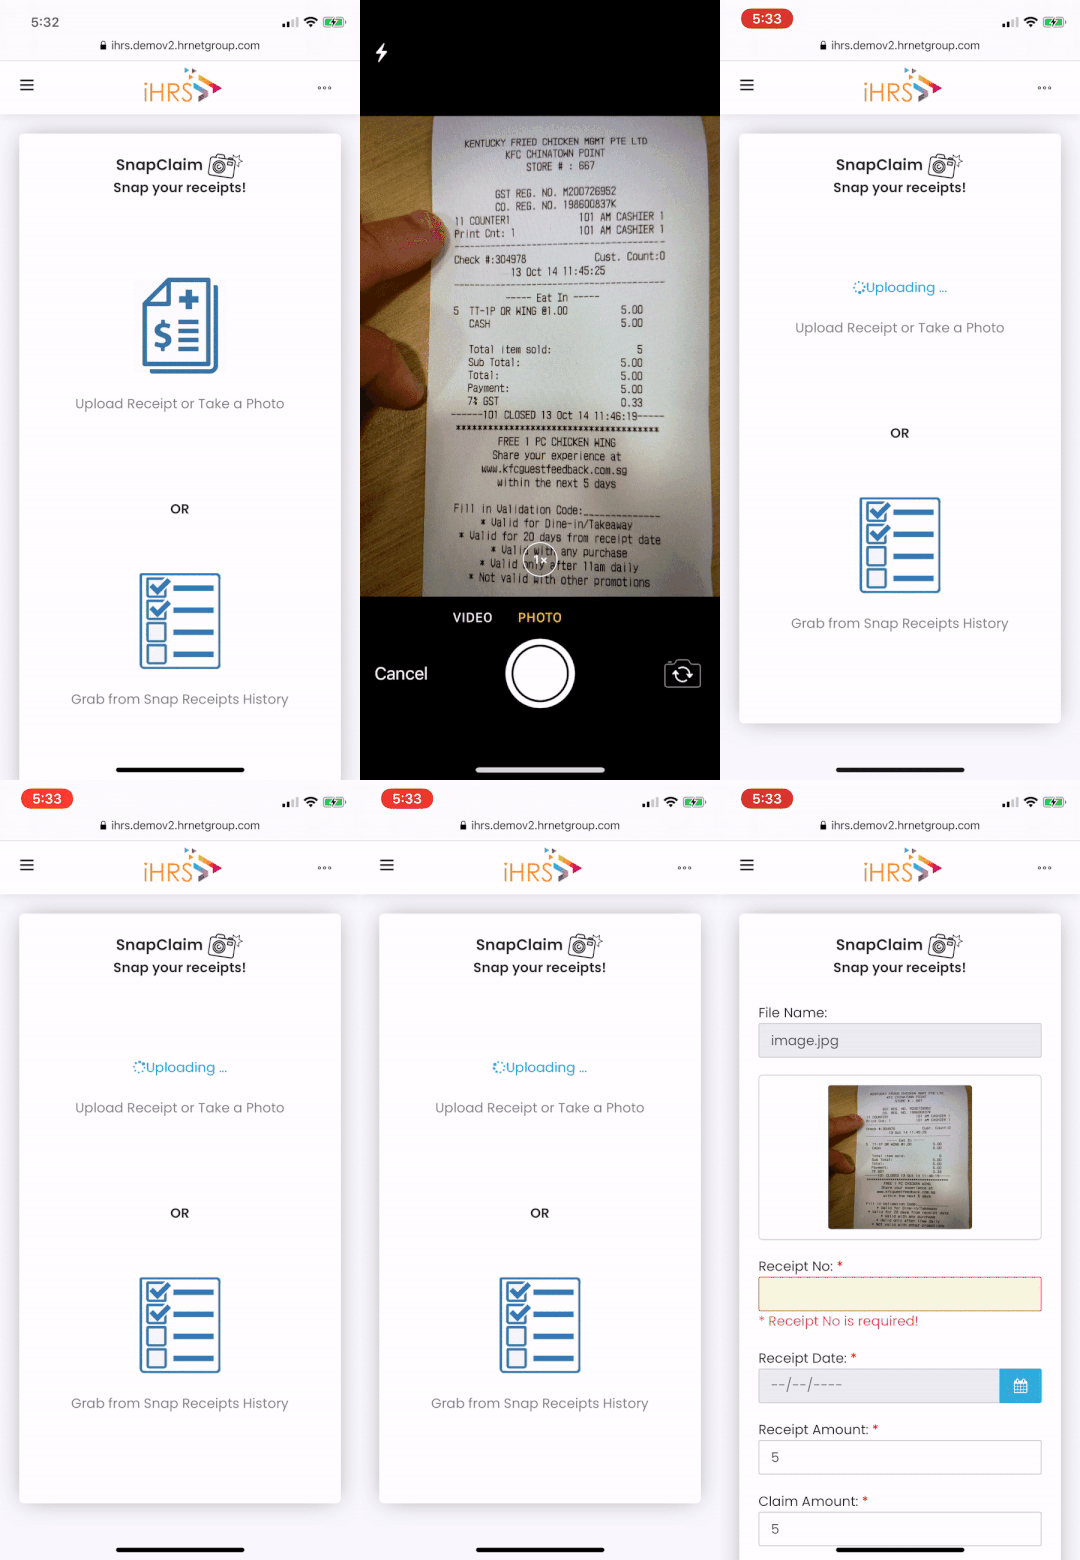
- Click [Upload Receipt or Take a Photo] to begin.

- To upload a receipt, click [Browse]/ [Photo Library] to find the receipt to upload.
- OR click [Take Photo] (only available on mobile) to snap a receipt.
- Fill in the remaining receipt details. Optional: Use [Prefill Claim Details] if you wish to fill in more details for claiming purposes, otherwise you can also fill in the details before submitting your receipt.
- Click the following options:-
[Save] - save the receipt for future use.
[Add To New Claim] - submit your receipt right away.
[Add To Existing Claim] - add the receipt to an existing pending claim report
Submit Your Receipts
To Retrieve Your Saved Receipts for submission:
Click [Snap Claim] icon button on the dashboard page, and choose [Grab From Snap Receipt History] (Pic 1) to begin.
Alternative you can click on [Snap Receipts History] on the left menu (Pic 2) to access your existing receipts.

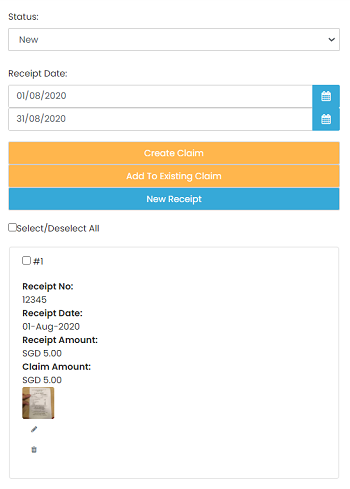
In this page, you are able to view all the receipts that has not been submitted.
To view a list of submitted receipts, select "used" in the status column.
Select the receipts to submit by ticking the "select all" checkbox or you can selectively tick the receipts you want to submit.
Click [Create Claim] to start a new claim report or [Add to Existing Claim] to add the selected receipts to an existing pending claim report

To Submit An Existing Pending Claim Report:

Click on [List Of Claims] on the left menu (shown as above) to access your existing claim reports.

Select the claim report that you want to submit by clicking the [Edit] icon